While we are out of internet range, we thought we’d still keep in touch by scheduling a few posts in advance. This one is focused on photography behind the scenes – secrets of an underwater photographer.
I am always keen to refine my underwater photography technique and equipment, while keeping things fun and easy to manage given we snorkel or free dive rather than scuba dive.
Most of the underwater shots are taken with an Olympus TG6 in an Ikelite Housing and Dome Lens on a tray, because I favour wide angle views and marine life on the move. The dome lens significantly improves the clarity of the photos and expands the camera’s field of view from 60o to 120o. This allows me to get closer to big subjects and scenes to fill the frame, while reducing the amount of water I have to shoot through. This results in the best exposure, colour, contrast and clarity in the image right to the edges.
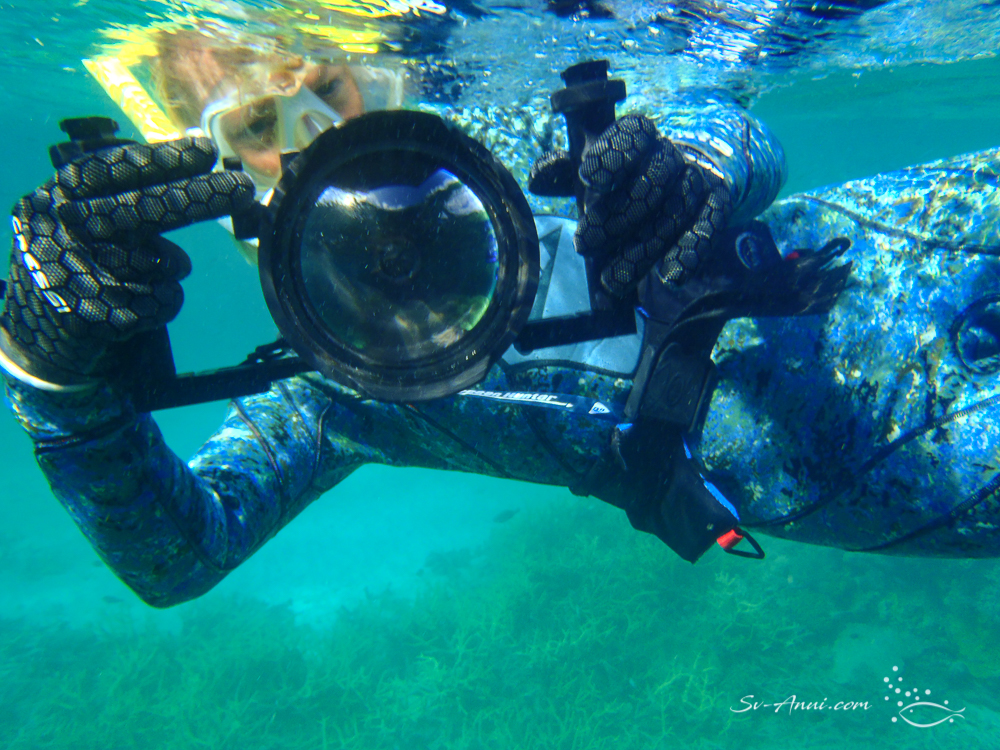
The housing gives extra protection to the camera from salt, the tray makes it easier to steady myself when I compose a shot. If going deeper or the light is not bright enough, then two Olympus Strobes are added, but it is more bulky and awkward to free dive with.

If taking macros, which the Olympus TG6 is renowned for, I can’t quite get as near to my subject (10cm) with the dome lens which shows the scars from getting a bit too close to the coral, but that’s okay. Over the years, I have purchased a replacement dome when removing the scratch marks in post processing just got too tedious. In the main I have found that I get as close as possible using the wide-angle settings, then zoom in.
Camera Settings & Image Processing
I use my own custom camera settings while taking photographs, rather than the automatic underwater settings provided by Olympus as it gives me better results.
I shoot in RAW, not JPEG because the image files contain all the raw information captured by the camera sensors, completely uncompressed. This way I have full control over the image editing. You have that much more information in a RAW file, which allows you to ‘‘recover” shadows and highlights if need be.
Most people think the shots we publish on our blog or in magazine articles are straight out of the camera. They are not… there is always quite an amount of editing that happens in the electronic dark room. If all you do is take happy snaps, then it does not matter; but if you want to enlarge your photos, print them or have them published, or if photography is your art form, then you need to do the work.
I have my own user settings for typical adjustments in post processing to save a bit of time when editing my images in Lightroom. Things like the white balance, exposure, dehaze, clarity, vibrance, get adjusted in the same way on every photo with these presets, leaving minimum additional editing.
Most of the ‘fiddling’ as Wade calls it is about getting the colour, light and clarity right as well as slightly obsessively removing the backscatter that can mar underwater photos. Sometimes it is a bit like a snowstorm down there! Those white dots can spoil an image, or at the very least detract from the subject and we can’t have that! So this is where I find I spend most of my editing time on individual images, particularly when the water clarity is not ideal.
Before/After
You are probably wondering what images look like before and after I have “fiddled” with them. Here are a few pairs: the first shows the shot straight out of the camera, the second is the finished version. Some needed more work than others! Do zoom in to see the details.
Wait for me! – A Green Sea Turtle swimming towards the Smallspotted Darts
I took this shot at Julian Rocks from below the turtle, looking up towards the surface. The water was murky, it was a grey day, there were lots of particles in the ocean.
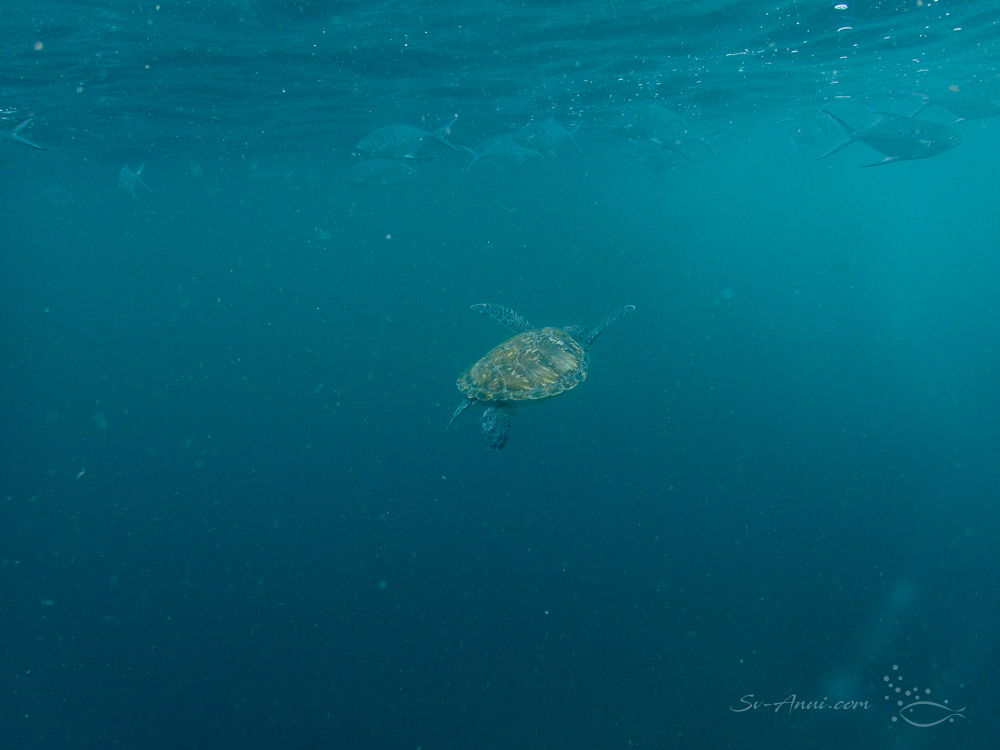
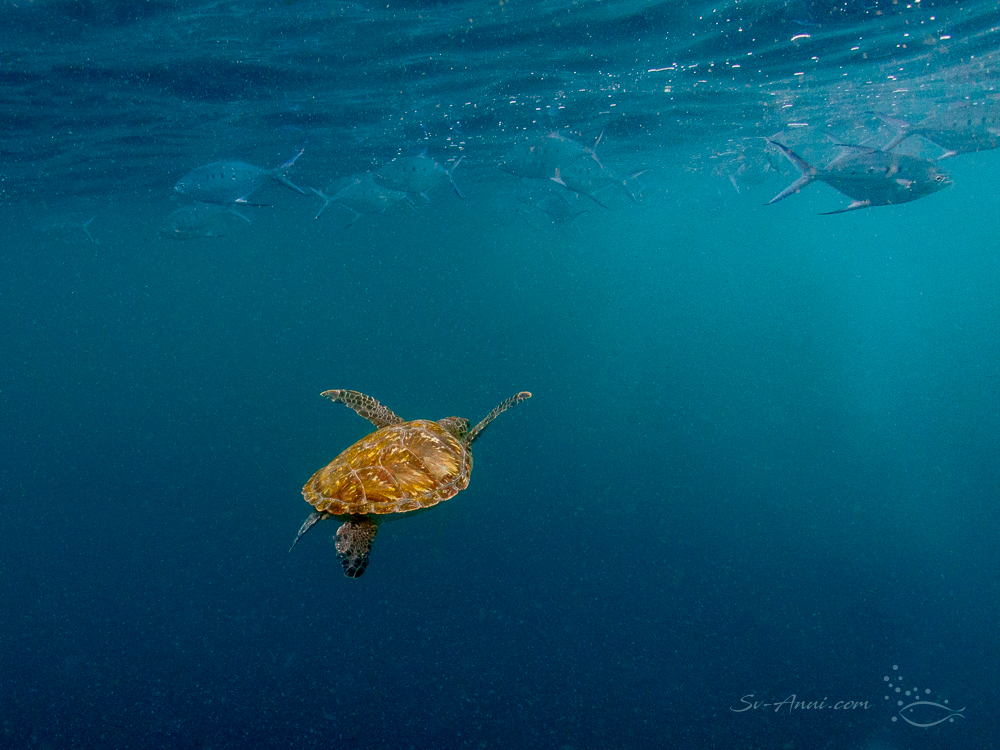
I cropped the image to make it clear where the turtle was going and better reveal the darts just under the surface. Most of the work I did was around clarity, contrast, colour and exposure as well as backscatter removal.
Mellow Yellow – A school of Golden Bullseye Fish
Schools of fish are always fun to photograph. Trouble was, this school was swimming at a depth of about 3 meters in murky water which resulted in a very dark image. I took the shot while in the middle of the school at Korffs Islet. No strobes were used.

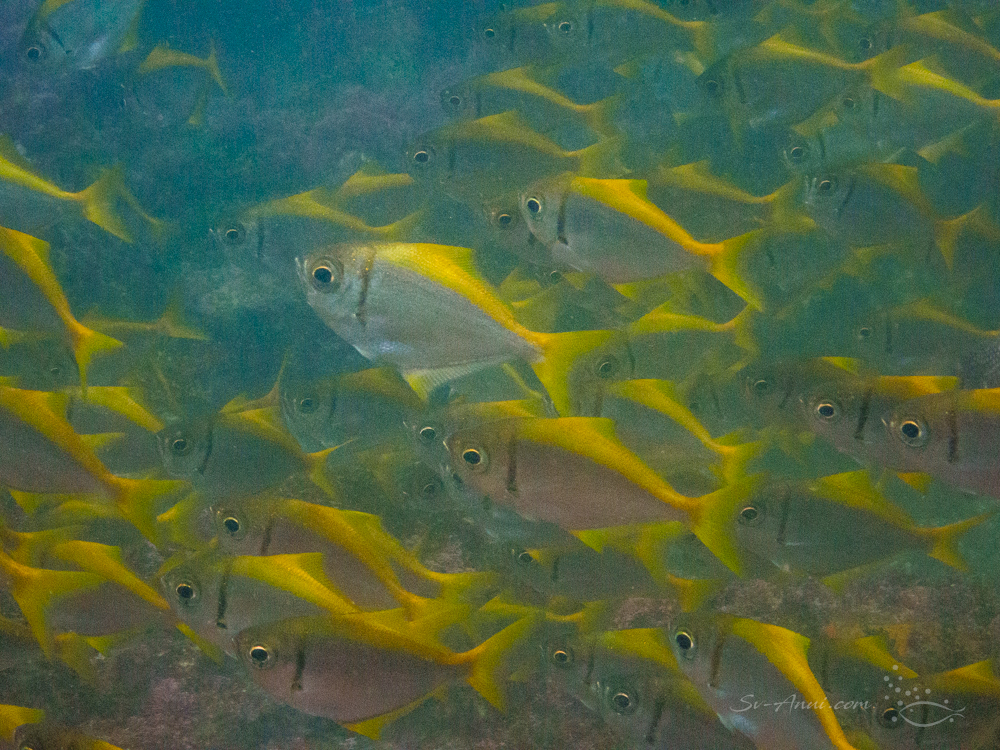
Significant work was done to correct exposure, increase clarity, contrast and render colour as close as it was to reality. As usual, some backscatter removal was needed as well.
Radiating Wade – Finning back up to the surface
I love this shot, taken at Split Solitary Island. The morning light, the sunrays through the water column which hit Wade in a pleasing way as he was finning back up to the surface, everything came together without much planning. We were just both at the right place at the right time.
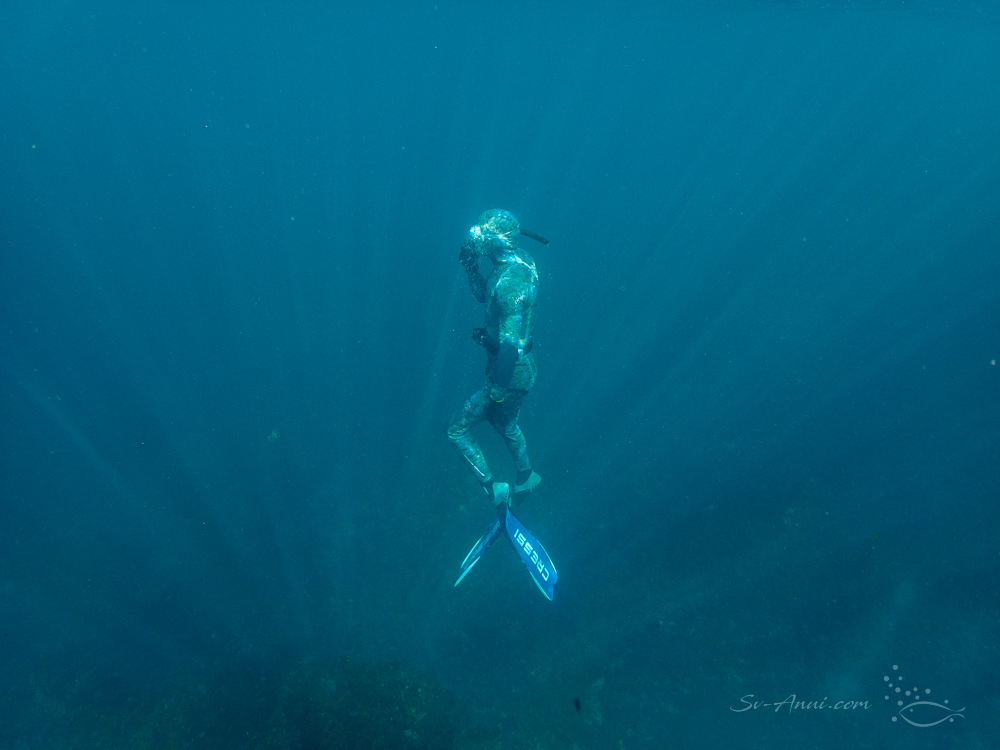

I simply worked on contrast to highlight the sun beams and removed some backscatter, but overall very little work was needed for this dream shot. For once the lack of water clarity worked in my favour and made the sunburst stand out.
Turtle Magic – at the Lady Musgrave lagoon
Light, water and turtles create magic. Shooting up towards the light from below the subject makes for really interesting effects. I have been experimenting with this technique in the last couple of months. In this shot the presence of the reef and little damsels at the bottom of the image added appeal too.

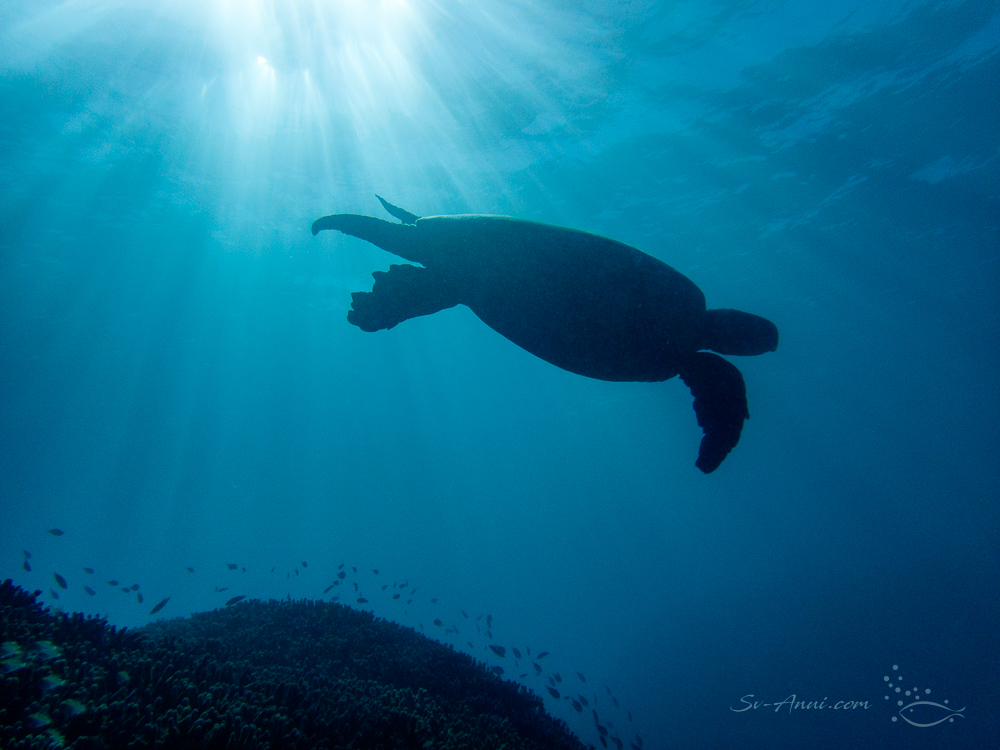
There was very little to adjust here: added contrast to highlight the sunburst and silhouetted loggerhead turtle, minimal backscatter to clean up.
If you are interested in more information about underwater photography, you might like to read an article I wrote a few years ago – Underwater Photography – 4 steps to wonder. Click the link or go to our Published Page/Practical section.
Many of our followers tell us they enjoy our photography but don’t necessarily know how much goes into developing images. I hope you found this look behind the scenes revealing. Let me know your thoughts.


Your photography is so beautiful! The rig you use is amazing too. ❤️😊🇦🇺
Thanks John, the underwater rig is actually quite simple, particularly when not using the lights.
I see, it does a fine job!
Thank you bigtime for some weekend homework! Fascinating! Friday morning you seem to be slowly moving in company of some other vessels hopefully having a happy and productive time – best . . .
Hi Eha, daily Reef hops with a buddy boat… all going well. We are lucky with the weather. 3rd week!
Good tutorial Chris,! Your “fiddling” makes all the difference in showing off the vibrancy you often miss out on with just a point and press. Keep that shutter whirring girl…. We love seeing your pics!
Thanks Elgar. All cameras firing at the moment!
Informative Chris. I will stick to my camera an continue to enjoy your masterpieces
Thanks Sue. Enjoying the mix of aerial and underwater photography!